Ontario road signs — complete guide
If you’re preparing for the G1 knowledge test, road signs are one of the areas where the Ministry of Transportation expects near-perfect. A third of the G1 written test draws directly from sign recognition shapes, colours, and meanings because signs are the language every driver on an Ontario road is expected to read instantly, without hesitation.
This guide breaks Ontario’s road signs into the same categories used in the official MTO Driver’s Handbook, explains why each sign looks the way it does (colour and shape are never random; they’re part of a deliberate visual system), and gives you a practical way to memorize them instead of just staring at a chart.
Whether you’re studying for your G1 for the first time or just revising before your test day, this page is your central hub. Use the linked guides below to go deeper into each sign category.
Why are Ontario road signs grouped this way?
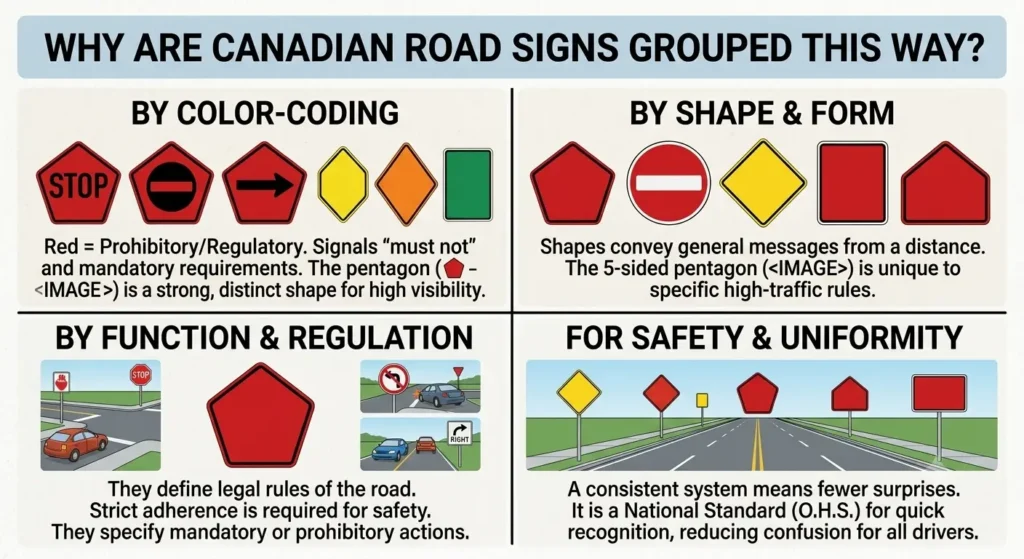
Before memorizing individual signs, it helps to understand the logic behind Ontario’s sign system. The Ministry of Transportation designs signs so that the shape and colour together tell you what kind of instruction you’re looking at, even before you read the words.
This is intentional at highway speed; a driver often processes shape and colour before they can read text.
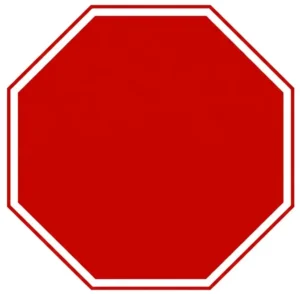
- Shape signals the category. Octagons mean stop, triangles mean yield, diamonds mean warning, and rectangles mean regulation or information.
- Colour signals the urgency and function. Red is prohibition or stop, Yellow is caution, White is regulation, Green is guidance, Blue is services, and Orange is temporary/construction.
Once this system clicks, you stop memorizing hundreds of individual signs and start recognizing patterns, which is exactly how the G1 test rewards you.
Regulatory Signs
Regulatory signs tell you what you must or must not do. They are legally enforceable, and ignoring one can result in a ticket even if no collision occurs.
- Shape/colour: Mostly rectangular or round, white background with black or red text/symbols; stop signs are the exception (red octagon), and yield signs are the exception (red-and-white triangle).
- Common examples: Stop, Yield, Speed Limit, No Entry, One Way, No Parking, Do Not Pass, turn restriction signs.
- G1 relevance: These are the most heavily tested signs because they carry direct legal consequences. Expect several questions on stop vs. yield procedure, speed limit zones, and turn restrictions.
Warning Signs
Warning signs alert you to conditions ahead that require caution or a change in driving behaviour, such as a curve, an intersection, a pedestrian crossing, or an animal crossing zone.
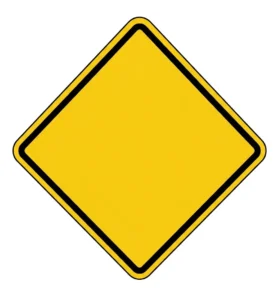
- Shape/colour: Diamond-shaped, yellow background with black symbols or text.
- Common examples: Curve ahead, merging traffic, pedestrian crossing, school zone ahead, slippery road, deer/animal crossing, traffic signal ahead.
- G1 relevance: The test often shows the diamond shape alone and asks you to identify the hazard being warned about, so shape recognition matters as much as memorizing the picture.
Information and Guide Signs
These signs help you navigate. They show directions, distances, services, and points of interest. They don’t carry legal instructions, but are important for route-reading questions on the test.
- Shape/colour: Rectangular; green for guidance and directions, blue for services (gas, hospital, rest stop), brown for tourism/recreation.
- Common examples: Highway exit signs, distance markers, hospital symbol, rest area signs, tourist attraction signs.
Temporary Conditions (Construction) Signs
Temporary signs indicate construction, maintenance, or short-term hazards. They override normal rules for as long as they’re posted.
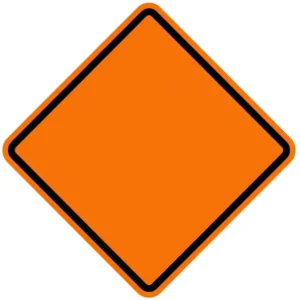
- Shape/colour: Orange background, black symbols or text, often diamond or rectangular.
- Common examples: Construction ahead, reduced speed zone, flag person ahead, detour, lane closed.
- G1 relevance: A common test trap is assuming the original posted speed limit still applies inside a construction zone; it doesn’t; the temporary orange sign overrides it.
School Zone and Pedestrian Signs
They often appear in real driving and on the test, school, and pedestrian signs deserve their own category.
- Common examples: School zone ahead, school crossing, playground zone, pedestrian crossover, community safety zone.
- G1 relevance: Expect questions on reduced speed limits in community safety zones and right-of-way at pedestrian crossovers versus regular crosswalks — this distinction trips up many first-time test takers.

Regulatory Sign Shapes and Colours | Quick Reference
Shape |
colour |
Meaning |
|---|---|---|
|
Octagon |
Red |
Stop |
|
Downward Triangle |
Red and White |
Yield |
|
Round |
Yellow |
Railway Crossing Ahead |
|
Diamond |
Yellow |
General Warning |
|
Diamond |
Orange |
Construction/Temporary Condition |
|
Rectangle |
White |
Regulatory Instruction |
|
Rectangle |
Green |
Guide/Direction |
|
Rectangle |
Blue |
Motorist Services |
|
Pentagon |
Yellow |
School Zone |
How to Study Ontario Road Signs for the G1 Efficiently
- Learn the system, not the signs. Start with the shape and colour rules above; this alone will let you correctly guess the category of a sign you’ve never seen before.
- Group by cluster, not alphabetically. Study regulatory signs together, then warning signs, then information signs. Mixing categories early slows recall.
- Use active recall, not re-reading. Cover the meaning column of the table above and quiz yourself.
- Practice with real test-style questions. Reading a chart is not the same skill as answering a multiple-choice question under time pressure. Use our [G1 Road Signs Practice Test] to simulate the real thing.